|
Period 6
|
Home |
Rodrigo Zamora
|
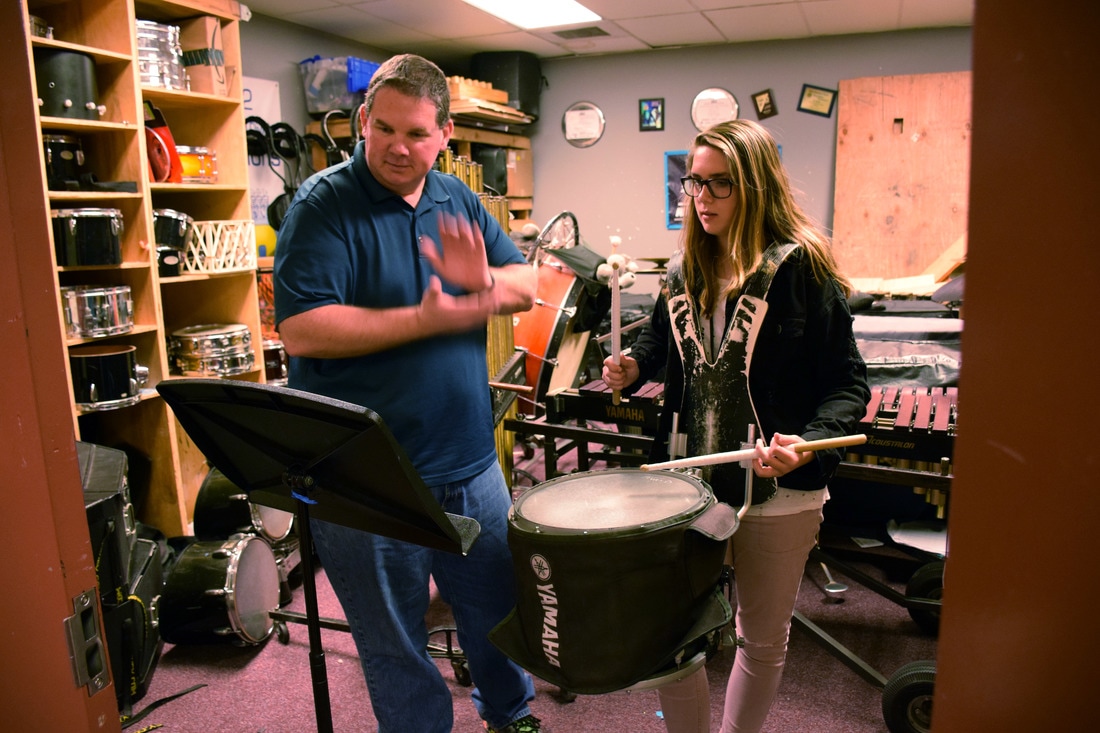
What I learned from portraiture was that taking photos from a close up angle or just from a angle is really cool. Also using the reflector was a really neat thing to use, we decided on the [poses based on our preferences and how we would like to show ourselves as. The reflector was super helpful and a main reason why the pictures had a very orange type of way of viewing it. I cleared my models face, Abraham and just took away all of his dark spots and just let the orange reflector take away the rest. some positions that use portraits are make up editors, photographers, models, and professional photographers. They make about 65,000 a year.
 Aperture-f/1.8 ISO-200  Aperture-f/8 ISO-200  Aperture-f/8 ISO-200  Aperture-f/1.8 ISO-200 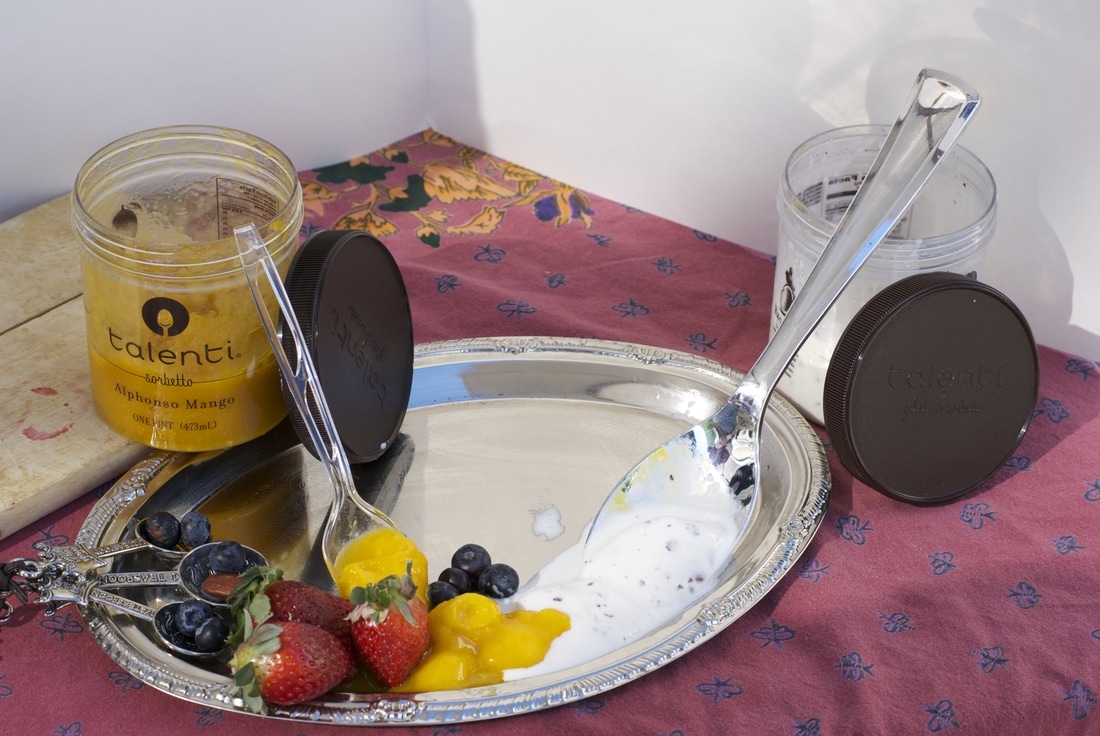 Aperture-f/1.8 ISO-200  Aperture-f/1.8
ISO-200 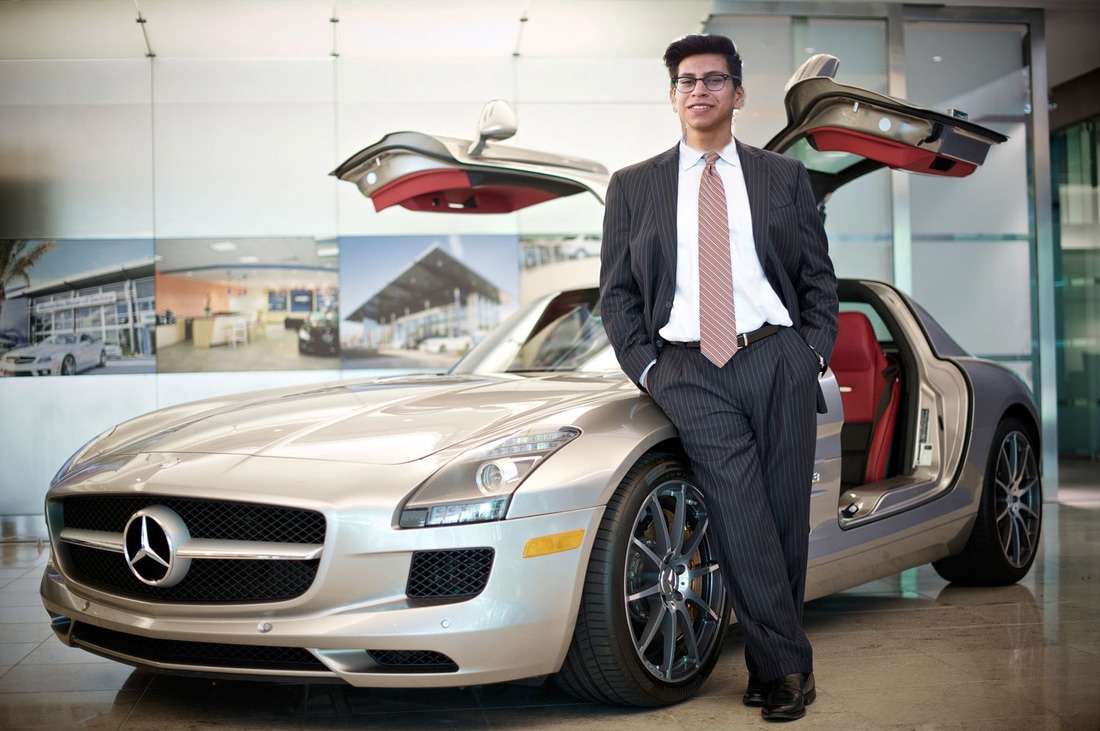 i chose as a job career is to be a car sales consultant because ever since I grew up I've really been into cars. I've always wanted to fix them up but i'm still not really to that task. Although being around and working with sport cars or super cars is very enjoying for myself I love being around cars and love watching them. People may not under4stand how people have a passion for cars but for me i understand completely. 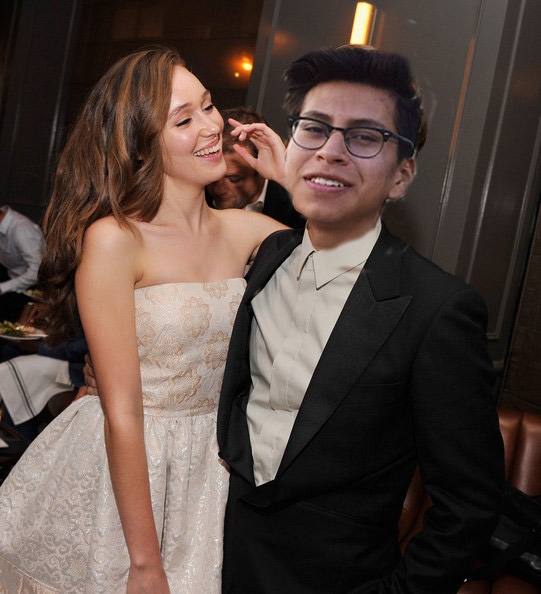 Alycia Debnam Carey was the actress i chose because ever since she appeared on "Fear The Walking Dead" I've really fallen in love with her. So there for i put myself next to her. PHOTOSHOP
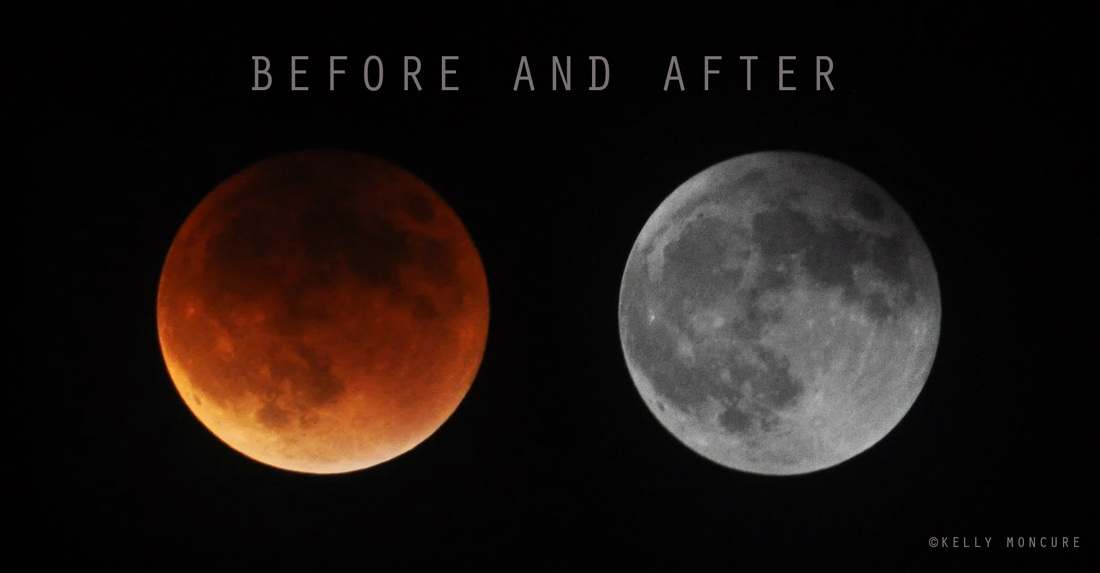 Blood Moon Lunar Eclipse, September 27, 2015. Left image: 70-300mm lens @ 270mm, ISO 1000, aperture f/5.3, shutter speed 1.3 secs. Right image: 70-300mm lens @ 300mm, ISO 800, aperture f/13, shutter speed 1/1250 sec 1. Use a tripod! A flat surface will only allow you to shoot straight, and shooting the moon means that you'll be shooting up and constantly re-adjusting the tripod as the moon moves throughout the night. 2. Use a shutter release cord, remote or the camera's self timer if you don't have one, so that you don't move the camera when pressing the shutter release during a long exposure. 3. Use a zoom lens and zoom in as much as you can to the moon. It's okay if it's not a super fancy lens, this was shot using a 15 year old $100 lens. Focus in on the craters and details on the moon. 4. ISO 1250- 1600, so that you can use as fast a shutter speed as you can without losing detail-the longer the shutter speed, the more chances you have the camera will shake even slightly in the wind, resulting in an out of focus photograph. 5. Aperture priority of f/5.6 since you are not worried about capturing any details other then the moon. 6. Bracket your exposure, meaning over expose and underexpose the photograph from what the camera is telling you. Generally the camera will overexpose the moon, so you'll get nothing but a white blob in the sky. Use the exposure compensation button (the +/- button below the shutter release) and change the exposure to -0.5, then -1.0, then -1.5 and so on, until you start seeing detail in the moon. You may go as far as -5.0 exposure compensation to get what you need. 7. Take a fair amount of photos and keep refocusing as the night progresses. The photographs may look focused on the camera's display, but you won't really see if they're completely in focus until you upload them onto your computer screen. |
AuthorRodrigo Zamora Archives
June 2017
Categories |
 RSS Feed
